
100 Series Land Cruiser Front Differential Cover Replacement
- Matt Overton
- Nov 17, 2025
- 3 min read


Process for 100 Series Land Cruiser Front Diff Cover Replacement
After searching IH8MUD and YouTube, I could not find any tech details or write-ups on the procedure for replacing the front differential cover (Toyota Part Number 41108-60011) on a Toyota 100 Series Land Cruiser or Lexus LX470. Many people have write-ups on replacing the differential busing/mount that is built into the cover (Toyota Part Number 41651-60010). I have replaced that press-in mount several times owning multiple 100 Series, but recently my independent dealer noted that mine was toast and said they have better luck replacing the entire cover. The cover is aluminum and the metal fatigues after replacement of the bushing, causing it to keep failing over time. As you can see in the above photo, mine had started destroying the aluminum because it had failed and wasn't replaced for years prior to my ownership. Because of what I found when doing this job on my 2003 Land Cruiser, I also did this job on my 1998 LX470. Both bushings were shot which created a front drive line clunk when changing gears from R to D. When your diff cover has failed as bad as the above photo, you also get a clunk when going from coast to accelerate.
The replacement procedure is pretty straight forward. You will need the following tools:
Various Metric Sockets/Wrenches (14mm for all the cover bolts, 19mm for the mount/bushing and to remove the driver side axle housing support arm and torx/allen key to remove the drain and fill plugs.
Highly recommend this extra long 14mm wrench
Floor Jack
Ratchet Strap
2 Quarts of Gear Oil
Catch Pan
RTV Sealant
Steps in the process are listed below. I took several photos during the process but it is not very hard. Access is the biggest issue and I recommend removing the long bolt for the cover mounted bushing and removing the driver side (lower) support arm that connects the axle housing to the frame. This will drop the differential lower, which makes access to the top bolts and vent hose much easier.
Remove differential fill plug, then drain plug using a torx/allen socket (whichever you can get to fit, T45 worked for me).
Remove the 19mm bolt that mounts the differential bushing and remove the driver side support arm. This lowers the differential for easier access

Get the diff as low in the frame as possible for better access. Remove the breather vent on the top right over the diff cover.
Remove the bracket (12mm) at the very top of the diff cover.
Remove the 14mm cover bolts (there is one on the backside of the cover also).
Pry the cover forward and let it drain. The cover will not clear the cross-member, so you can just let it hang.
You will need to use a ratchet strap to gain enough clearance to remove the diff cover. See photo for how I did this.

Ratchet strap the axle to the crossmember just behind it. This allows you to remove the diff cover. Even now, the diff cover will not just fall out. You will need to manipulate it and work it around the crossmember.
Once removed, you can clean the mating service, install RTV sealant and re-install.

Diff cover after removal. The re-install process is just the opposite of what you just did.
Make sure the drain plug is reinstalled and add 2 quarts of gear oil. Access is tight, I found decent luck with the 1 quart bags.
An important note is that if this was done previously the washer for the long 19mm bolt that holds the mount in place may be gone. If it is, you will still have a clunk, as there is a gap that cannot be filled by just the stock bold. The OEM part number for this washer is listed below, both of my 100 Series were missing this part.
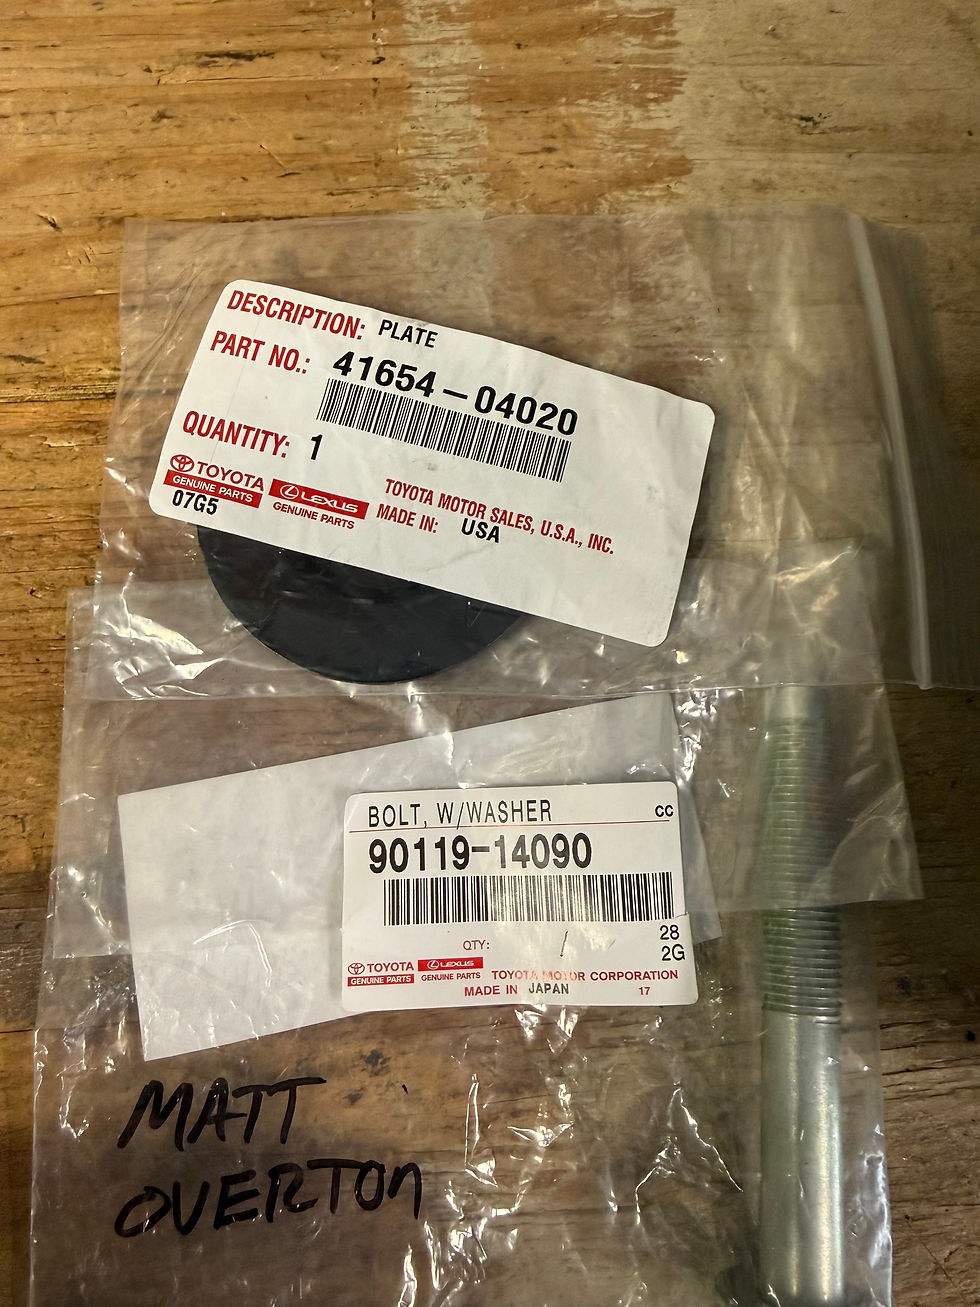
Toyota Washer/Plate Part Number: 41654-04020


Comments